
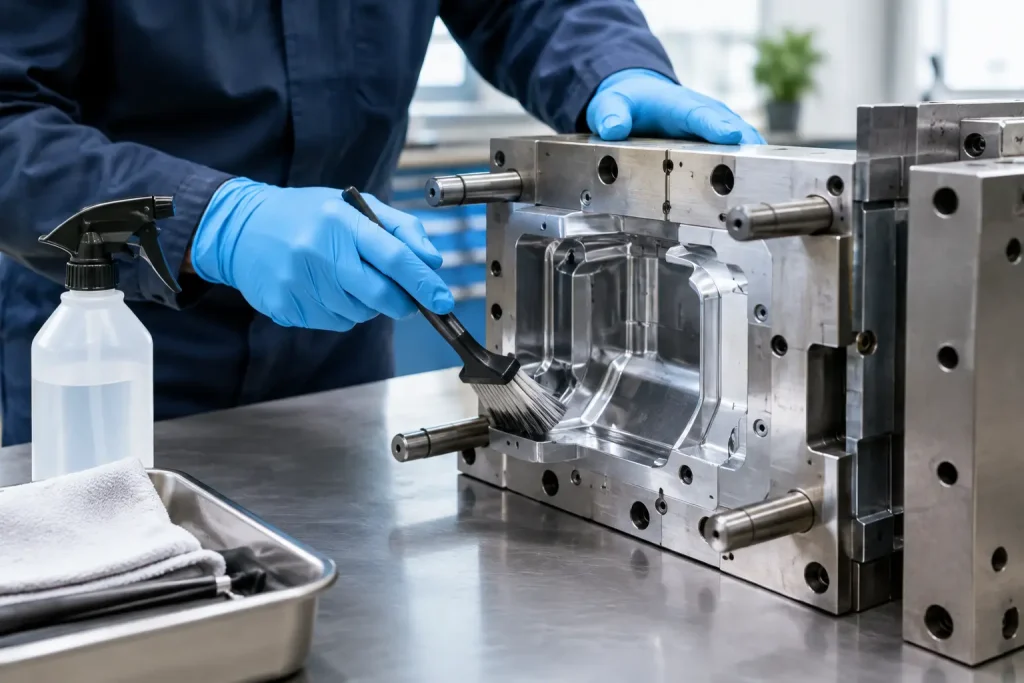
A molding tool can appear clean while deposits in a vent, around a gate, or on a polished cavity are already affecting part quality. Knowing how to clean injection moulds is therefore less about making steel look brighter and more about restoring the exact surface condition needed for stable production – without altering dimensions, texture, coatings, or critical edges.
For maintenance teams, the right method depends on the contaminant, the mold steel or insert material, the required finish, and whether the tool can be removed from the press. A careful assessment prevents a common and expensive mistake: using an aggressive cleaning method for a deposit that only requires targeted removal.
Start with the deposit, not the cleaning method
Injection molds accumulate different contaminants for different reasons. Residue may be caused by degraded resin, mold-release agents, flame retardants, colorants, lubricants, water minerals, oxidation, or airborne process contamination. The location matters as much as the material. A light film on a non-critical external surface is different from baked-on residue in a micro-vent or a deposit on a high-gloss cavity.
Before selecting a process, record where the deposit appears and whether it returns at the same interval. Recurring contamination can point to a processing issue, such as excessive barrel temperature, poor venting, unsuitable release-agent use, or resin degradation. Cleaning restores the tool, but it may not remove the cause of repeat fouling.
Inspect cavity surfaces, cores, runners, gates, vents, slides, lifters, ejector pins, cooling connections, and parting lines. Use magnification where needed. Photographs taken before cleaning are useful for maintenance planning and for comparing the tool condition after work is complete.
How to clean injection moulds safely
The safest approach is controlled, staged cleaning. Begin by following the mold maker’s maintenance instructions and the resin supplier’s guidance where relevant. Lock out the machine, allow the tool to reach a safe handling temperature, and protect polished faces, delicate textures, inserts, and sensors before any cleaning begins.
Loose dust and particles should be removed first using a method that will not drive contamination into vents, cooling channels, or moving components. The next step is to identify a cleaning agent or precision process compatible with the mold material and any surface treatment. Hardened tool steels, stainless steels, beryllium copper inserts, coatings, plated surfaces, and etched textures can respond very differently to the same chemical or abrasive action.
For light residues, approved mold-cleaning products and lint-free wipes may be sufficient. Use minimal quantities and avoid leaving solvent or cleaner in vents, cavities, or crevices. Wipes, brushes, and applicators must be chosen carefully: a material that seems soft can still scratch a polished finish or snag a fine texture if it carries abrasive particles.
Where deposits are localized or strongly bonded, cleaning should become more selective rather than more forceful. Mechanical scraping, aggressive brushing, and broad abrasive blasting can remove contamination, but they can also round shut-off edges, alter texture, open vents, or change a surface finish. These changes may lead to flash, sticking, poor release, visible part defects, or premature tool repair.
Why vents and parting lines need special attention
Blocked or restricted vents can create burn marks, short shots, inconsistent filling, and higher injection pressure. They are also among the easiest areas to damage during maintenance. Vents are intentionally narrow, so residue removal must not widen the vent geometry or push contamination further into the tool.
Parting lines deserve similar care. Deposits on the line can prevent full closure and contribute to flash. Do not assume every mark is contamination. Wear, corrosion, impact damage, or displaced material can look like residue but require a toolroom repair rather than cleaning.
After cleaning, inspect these areas under appropriate lighting and magnification. The practical question is not whether the metal looks uniformly bright. It is whether the vent path, shut-off condition, and surface profile remain suitable for the molding process.
When laser cleaning may be a suitable option
Precision laser cleaning can be considered for certain deposits on metal tooling where conventional methods are too broad, too abrasive, or difficult to control. The process uses focused laser energy to remove surface contamination through ablation. In suitable applications, it can target residues, oxidation, or adherent process deposits while minimizing contact with the surface.
For injection molds, its potential value is usually in selective cleaning of defined areas: residue around gates and runners, deposits near vents, oxidation on accessible metal components, or contamination on surfaces where hand abrasion is undesirable. The visual contrast created as deposits are removed can also help maintenance teams verify the treated area.
However, laser cleaning is not automatically appropriate for every mold. Surface finish is critical. Mirror-polished cavities, fine grain textures, coated components, soft alloys, plated features, engraved detail, and heat-sensitive parts require trials and controlled parameters. A laser process that removes a dark deposit effectively may still be unsuitable if it changes gloss, texture, or coating performance.
Access is another constraint. Deep cavity features, concealed vent paths, complex internal channels, and components that cannot be safely exposed may require another approach or partial disassembly. Laser cleaning does not replace mold repair, welding, retexturing, polishing, or dimensional correction where those are needed.
Build a cleaning plan around production risk
The best maintenance plan aligns cleaning frequency with actual tool condition and production consequences. If a mold runs stable for long periods, unnecessary cleaning can create avoidable handling risk. If defects are recurring, waiting until parts are rejected at a high rate can turn a manageable maintenance task into an unplanned stoppage.
A useful plan distinguishes between routine visual checks, targeted cleaning of known deposit areas, and more detailed inspections during scheduled maintenance. Track the resin grade, additives, cycle count, defect history, cleaning method used, and any changes in molding conditions. Over time, this record can show whether the issue is tool-related or process-related.
For tools serving regulated, high-value, or cosmetic part applications, define acceptance criteria before cleaning starts. These may include an agreed cavity appearance, vent condition, surface roughness requirements, mold-release behavior, and a trial-shot inspection after reassembly. Clear criteria avoid subjective decisions based only on appearance.
Information needed for a cleaning assessment
A specialist assessment is more reliable when it begins with specific information rather than a general request to remove contamination. Provide clear photographs of the affected areas, the mold material if known, details of coatings or textures, the resin and additives processed, and the nature of the defect appearing on molded parts.
It is also helpful to confirm whether the mold can be removed from the press, the accessibility of the area, production deadlines, prior cleaning methods, and any concerns about polishing, vent geometry, or surface appearance. A representative trial on a non-critical area or sample insert may be appropriate where laser cleaning is being evaluated for the first time.
BKR Engineering approaches laser surface preparation as a controlled restoration process rather than general cleaning. For tooling and similarly sensitive industrial surfaces, the priority is to establish whether deposits can be removed while preserving the substrate condition required for service.
Verify the tool before returning it to production
Cleaning should end with inspection, not simply reassembly. Check for residue in vents and corners, verify that moving components operate freely, and confirm that no cleaner, debris, or loose particles remain in the cavity or on the parting line. Where the mold has been disassembled, lubricate and reassemble it according to the tool maker’s requirements.
A controlled trial run is the practical final check. Review first-off parts for flash, burn marks, drag marks, gloss variation, sticking, and cosmetic defects. If the original problem remains, avoid repeated cleaning without reassessing the root cause. The mold may be clean, while the process condition creating the deposit or defect is still present.
If deposits are persistent, confined to critical features, or difficult to remove without risking the tool surface, a representative trial and project discussion can help determine whether precision laser cleaning is a suitable next step.