
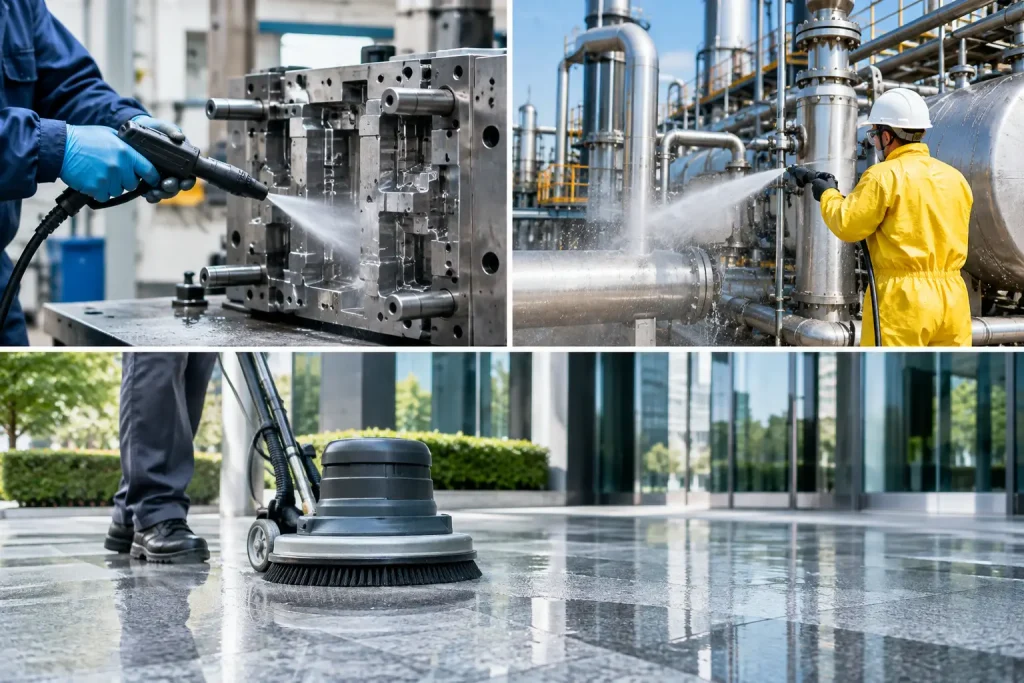
A rusted flange, stained heritage facade, or coated production component rarely needs cleaning at any cost. It needs the contaminant removed while the asset beneath it remains fit for service. This substrate safe cleaning guide helps maintenance and project teams assess the cleaning task before an aggressive process turns a manageable issue into rework, lost material, or an extended shutdown.
For high-value assets, surface cleaning is not merely housekeeping. It can prepare a weld for inspection, expose corrosion for assessment, restore a detail that would be damaged by blasting, or create a suitable surface for recoating. The right method depends on the contaminant, the substrate, the required finish, and the consequences of removing too much material.
What Substrate-Safe Cleaning Means
Substrate-safe cleaning is the controlled removal of an unwanted layer without materially changing the base surface. That unwanted layer may be rust, mill scale, oxides, paint, grease, carbon deposits, or residue from a prior process. The base material may be carbon steel, stainless steel, aluminum, stone, concrete, brick, or a sensitive decorative surface.
The term does not mean every cleaning method is risk-free. Every process has a working range. Abrasive blasting can be effective on heavy corrosion but may alter surface profile, round edges, embed media, or drive contaminants into certain surfaces. Chemical cleaning can reach complex geometry, yet it introduces compatibility, runoff, worker exposure, and disposal considerations. Mechanical tools are readily available, but they can gouge the surface or struggle to access fine details.
A substrate-safe approach starts by defining what must remain unchanged. On a structural steel member, that may be material thickness and weld geometry. On stainless steel, it may include surface condition and freedom from cross-contamination. On heritage stone or an artifact, the acceptable tolerance can be far tighter: preserve patina, fine inscriptions, and original texture while removing only the damaging deposit.
Start With the Cleaning Objective, Not the Tool
The most reliable project planning begins with a clear outcome. “Remove rust” is too broad for a critical asset. A more useful instruction is “remove loose corrosion and coating near the weld toe so the area can be inspected,” or “remove failed paint without damaging the prepared steel profile required for recoating.”
That distinction determines the process parameters, containment requirements, and inspection criteria. It also prevents a common mistake: selecting a method based only on speed in open areas, then discovering it is unsuitable around edges, threads, intricate features, or adjacent equipment.
Before work begins, establish four practical points:
- Identify the substrate and any coatings, platings, or heat-sensitive layers.
- Identify the contaminant, its thickness, adhesion, and likely composition.
- Define the required post-clean condition, including surface profile, cleanliness level, and appearance.
- Confirm access constraints, nearby equipment, ventilation, permits, and allowable downtime.
These details are especially important when the surface condition affects inspection, coating adhesion, electrical contact, heat transfer, or asset integrity decisions.
Check whether the contaminant changes the risk
Not all deposits behave the same way under cleaning. Loose oxidation may lift easily, while tightly bonded scale, multilayer coatings, or baked-on oil may need a more deliberate process. Older paint systems can also create health and waste-management concerns. Where coating composition is unknown, testing and appropriate controls should come before full-scale removal.
The same is true for the base material. Aluminum and thin-gauge metal can be damaged by excessive mechanical force. Stainless steel may require dedicated tooling and clean handling to avoid introducing foreign particles. Porous masonry can absorb chemical agents, while delicate substrates may react poorly to moisture, heat, or impact.
Choose a Method Based on Control
Cleaning methods should be compared by their ability to remove the target layer, protect the substrate, and fit the jobsite. There is no universal best choice. The correct answer depends on the asset and the result required.
Abrasive and mechanical cleaning
Grinding, wire brushing, needle scaling, and abrasive blasting can be productive on robust steelwork, particularly where a specified surface profile is required for a coating system. Their limitations become more significant on thin materials, machined components, confined areas, or detailed surfaces. Media handling, dust, rebound, masking, and enclosure requirements can also add time around the actual cleaning work.
Mechanical methods are often practical for localized preparation, but teams should inspect the cleaned area for gouging, peening, media residue, and inconsistent finish. A surface that looks clean may still be unsuitable for a sensitive inspection or coating application.
Chemical cleaning
Solvents, acidic treatments, alkaline cleaners, and specialty strippers can remove oils, oxides, and coatings effectively when correctly matched to the surface. They may be useful where contact with a tool or blast media is unsuitable. However, chemicals create a different set of controls: dwell time, neutralization, rinsing, ventilation, protection of nearby materials, and disposal of contaminated liquids.
Chemical methods require careful compatibility checks. An effective product for one alloy, coating, or masonry type can stain, etch, weaken, or leave residue on another. They should be treated as a controlled process, not a quick substitute for planning.
Laser cleaning for selective removal
Laser cleaning uses controlled laser energy to ablate or detach surface contaminants. Because the process can be adjusted to target a specific layer, it is particularly valuable when the goal is to remove rust, oxides, paint, oil, or residue while preserving the underlying substrate.
Its practical advantage is selectivity. Properly configured laser cleaning can work around welds, edges, bolt areas, intricate geometry, and localized defects without the broad impact associated with abrasive media. The process produces a highly visible cleaning effect, allowing operators and asset owners to see progress and verify whether the target layer has been removed.
Laser cleaning is not a substitute for engineering judgment. Heavy, uneven corrosion or complex coating systems may require test areas to confirm speed and final condition. Access, line of sight, fume extraction, and laser safety controls must also be planned. When those conditions are addressed, laser ablation can reduce secondary waste, limit setup requirements, and shorten the disruption associated with enclosure-based cleaning methods.
Use a Test Patch to Protect the Asset
A test patch is one of the most cost-effective controls in a substrate safe cleaning program. It confirms whether the chosen process removes the unwanted layer at the required rate and shows how the base surface responds. For a coating-removal project, it can reveal whether the cleaning method leaves residue or changes the surface profile. For restoration work, it helps establish the acceptable visual endpoint before treating a larger area.
The test should represent real conditions. Select areas with typical contamination, not only the easiest portion of the asset. Document the starting condition, process settings, cleaning duration, and final result. Where the asset is safety-critical or the work supports inspection, involve the relevant engineer, coating specialist, or asset owner in acceptance of the sample.
This step matters because a surface can be over-cleaned as easily as under-cleaned. Removing all visible discoloration may be unnecessary or even undesirable if the task only requires access for inspection. Controlled cleaning is about achieving the specified condition, not pursuing an arbitrary appearance.
Verify the Surface Before the Next Trade Starts
Cleaning is often a handoff point. Inspection teams, welders, painters, and maintenance crews rely on the cleaned condition to perform their work correctly. A good handoff includes visual verification and, where applicable, agreed checks for profile, cleanliness, residue, or remaining corrosion.
For coating preparation, confirm the surface meets the coating manufacturer’s requirements and that flash rusting or recontamination has not occurred before application. For inspection preparation, make sure the process has exposed relevant defects without leaving residues that could interfere with the examination. For restoration, compare the finished area against the approved test patch rather than relying on subjective impressions.
Protect the cleaned area after acceptance. Bare metal can begin oxidizing quickly in humid or marine environments. Schedule coating, inspection, or assembly work as close as practical to cleaning, and avoid handling practices that transfer oil, salts, or abrasive residue back onto the surface.
Plan Cleaning as Part of Downtime Reduction
The fastest cleaning method is not always the one with the highest removal rate. A process that requires extensive masking, abrasive recovery, blasting enclosures, chemical neutralization, or waste transport can lengthen the overall job. Total project time should include setup, cleaning, cleanup, verification, and return to service.
For localized maintenance, laser cleaning can be especially useful because it supports targeted work with minimal consumables and no blast media to recover. BKR Engineering applies controlled laser ablation to help teams address contamination precisely while reducing the waste and disruption associated with traditional approaches.
The most useful next step is simple: define the surface that must be preserved, the layer that must be removed, and the condition needed afterward. With those three decisions in place, cleaning becomes a controlled maintenance activity that protects both the asset and the schedule.