
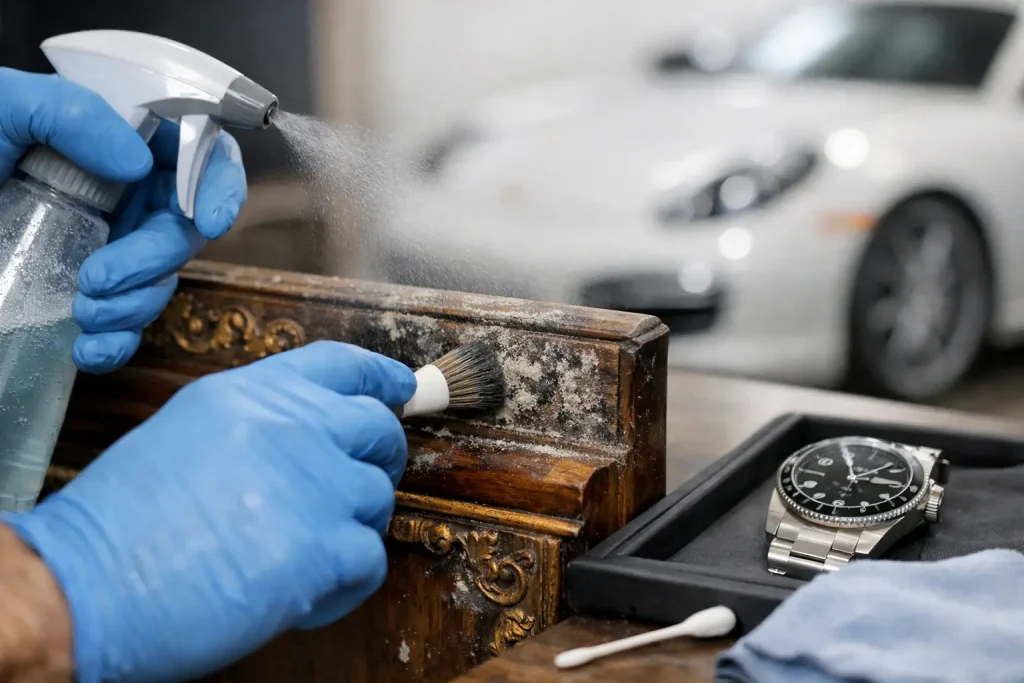
A dark patch on a wall, pipe rack, storage tank, or heritage façade is rarely just a cosmetic issue. Effective mould cleaning methods must deal with both the visible growth and the moisture conditions that allowed it to develop. For asset owners, facilities teams, and restoration contractors, the wrong approach can spread spores, damage a sensitive surface, interrupt operations, or leave contamination ready to return.
The most suitable method depends on the material, the size and location of the affected area, whether the growth is active, and the consequences of damaging the substrate. Cleaning painted drywall is not the same as treating mould on porous insulation, stainless steel equipment, aged masonry, decorative timber, or a historic artifact. A controlled assessment should come before any cleaning process.
Start With Moisture Control and Risk Assessment
Mould needs moisture to grow. Before selecting a cleaning technique, identify the source: condensation around chilled lines, a roof or plumbing leak, inadequate drainage, flooding, poorly managed humidity, or restricted airflow. If the moisture issue remains unresolved, even a carefully cleaned surface can be contaminated again.
The assessment should distinguish between surface contamination and material that has been penetrated or degraded. Non-porous surfaces such as metal, glass, and some sealed finishes can often be cleaned effectively when the growth is limited. Porous materials, including ceiling tiles, insulation, untreated timber, paper-based finishes, and heavily affected drywall, may require controlled removal and replacement rather than surface cleaning alone.
For large areas, occupied buildings, healthcare-sensitive spaces, or industrial environments where contamination could affect product quality or worker safety, isolation and verification matter. The work plan may require containment barriers, negative air control, personal protective equipment, HEPA-filtered vacuuming, and defined waste handling. This is not unnecessary process. It prevents cross-contamination during cleaning and supports a safer return to service.
Mould Cleaning Methods Compared
No single technique is right for every substrate. The practical decision is based on removal performance, substrate sensitivity, waste generation, access requirements, and downtime.
HEPA Vacuuming and Damp Wiping
For small, accessible areas of light surface mould, HEPA vacuuming followed by damp wiping with an appropriate cleaning solution can be effective. HEPA vacuuming captures loose spores and dust rather than redistributing them into the surrounding area. Damp wiping helps lift remaining residue while limiting airborne disturbance.
This approach is generally best suited to hard, non-porous surfaces with limited contamination. It is low impact and straightforward, but it is not a cure for deeply contaminated porous material or hidden growth inside wall cavities, ducting, insulation, or beneath finishes. Using a dry brush, compressed air, or ordinary vacuum can make the problem worse by spreading particulates.
Detergent and Antimicrobial Cleaning
A detergent-based cleaning process can remove surface soil and biological residue from washable finishes, metal components, tiles, and sealed masonry. Where appropriate, an antimicrobial treatment may be used after physical cleaning to address residual biological activity.
The key point is that chemical products are not a substitute for physical removal. Applying a chemical over visible mould without cleaning the surface can leave debris behind and may create compatibility problems with coatings, metals, sealants, or historic materials. Bleach-based products, for example, may discolor finishes, corrode susceptible metals, create strong fumes, and have limited effectiveness on deeply penetrated porous materials.
Chemical cleaning also creates rinse water, spent consumables, and possible hazardous waste obligations. In a plant, commercial property, or restoration project, these disposal requirements can influence the true cost and schedule of the job.
Controlled Removal of Contaminated Materials
When mould has entered porous or damaged materials, removal is often the most dependable option. This may include cutting out affected drywall, disposing of wet insulation, removing degraded caulking, or replacing contaminated wood sections that cannot be restored safely.
The trade-off is obvious: removal creates waste, requires containment, and can extend the project scope. Yet attempting to preserve unsalvageable material may lead to repeated remediation costs and ongoing indoor air quality concerns. Material removal should be performed in a controlled sequence so that demolition dust and spores do not migrate into clean areas.
Abrasive and Media-Based Cleaning
Abrasive blasting, soda blasting, dry ice blasting, and other media-based processes can remove contamination from robust surfaces. They may be considered for exterior masonry, structural steel, and certain industrial assets where surface profile changes are acceptable or even desired.
However, these methods are not automatically suitable for precision work. Abrasives can alter a substrate, remove desirable patina, erode soft stone, and leave media to collect and dispose of. Even dry ice systems, while reducing secondary blast media, can be noisy and may require substantial containment and ventilation. On high-value or delicate assets, the surface impact must be evaluated before work begins.
Laser Cleaning for Sensitive, High-Value Surfaces
Laser cleaning uses controlled laser ablation to remove selected surface contaminants without the physical impact of abrasive blasting or the liquid waste associated with many chemical processes. Properly configured, it can be highly selective, allowing technicians to target contamination, oxidation, coatings, oil, and residue while protecting the underlying substrate.
For mould-related work, laser cleaning is most relevant where surface contamination must be removed from non-porous, delicate, intricate, or high-value materials and where conventional methods create unacceptable risk. Examples can include detailed metalwork, heritage surfaces, sensitive equipment components, and restoration areas where preserving the original material is a priority.
It is not a universal replacement for remediation. Laser cleaning does not resolve moisture intrusion, and it is not the appropriate answer for deeply contaminated porous materials that need removal. It also requires trained operation, fume extraction, and parameters tailored to the substrate and contaminant. Used in the right application, however, it can reduce setup time, avoid blasting media, minimize chemical waste, and provide a visible, controlled cleaning result.
How to Select the Right Method
A useful selection process starts with the asset, not the tool. Determine whether the affected surface is porous or non-porous, whether the material has historical or operational value, and whether cleaning could affect a coating, protective layer, finish, or tolerance-critical component. Next, establish the extent of contamination and confirm whether moisture is still present.
Access and operating conditions also matter. A method that works in an unoccupied exterior area may not be practical near live production equipment, occupied offices, food handling zones, or confined spaces. Consider containment requirements, ventilation, cleanup, waste disposal, and the shutdown window available. The lowest-cost cleaning product is not necessarily the lowest-cost project when labor, downtime, and rework are included.
For sensitive assets, test cleaning is a sound precaution. A small, controlled trial can confirm removal effectiveness and reveal whether the method changes color, texture, surface roughness, coating adhesion, or substrate condition. This is especially valuable for heritage masonry, decorative metal, aged timber, and components with protective finishes.
Common Mistakes That Increase Remediation Costs
The first mistake is treating mould as a surface-only problem. If a leak, condensation issue, or humidity imbalance persists, recurrence is likely. The second is using aggressive cleaning on a surface that should have been tested first. Damage to a heritage finish or precision component can be more costly than the contamination itself.
Another common failure is inadequate containment. Workers may clean the visible area while spores travel through an HVAC return, open doorway, or adjacent work zone. Finally, avoid relying on appearance alone. A surface can look clean while the material behind it remains wet, compromised, or biologically affected.
A Practical Path to Safer, Lasting Results
Mould remediation should restore more than appearance. It should remove contamination appropriately, protect the asset, control the source of moisture, and leave the area ready for safe use or further maintenance. For straightforward surface growth, HEPA-assisted cleaning and compatible detergents may be sufficient. For porous materials, controlled removal may be the responsible choice. For intricate, sensitive, or high-value non-porous surfaces, precision laser cleaning can offer a lower-waste alternative to abrasive or chemical processes.
BKR Engineering approaches surface preparation as a controlled technical task, with cleaning parameters selected to protect the substrate and support the wider maintenance objective. The best result begins with a clear assessment: understand what is on the surface, what lies beneath it, and what the asset needs to perform well after the cleaning is complete.