
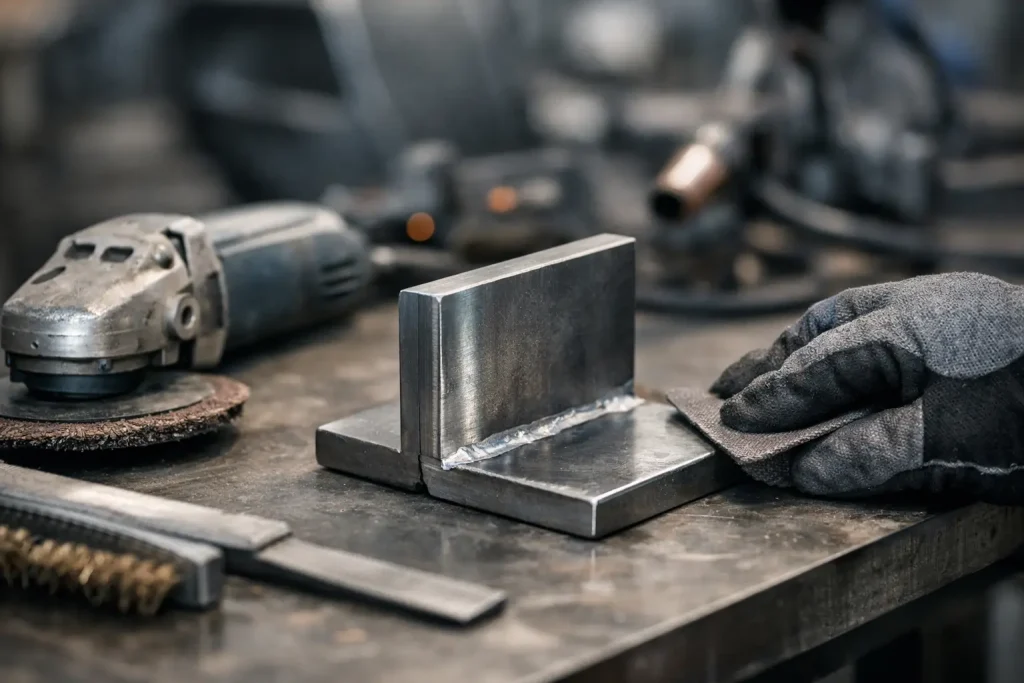
A weld can fail long before the arc is struck. A thin film of oil, an oxide layer that looks harmless, or coating residue at the joint can introduce porosity, lack of fusion, cracking, and costly rework. This guide to weld surface preparation explains how to create a clean, consistent weld zone while protecting the base material and keeping field work moving.
Why weld surface preparation affects weld integrity
Welding joins more than two pieces of metal. It joins the base material, filler metal, shielding method, heat input, and the condition of every surface near the joint. When contaminants enter that system, the weld pool can behave unpredictably.
Rust, mill scale, paint, grease, moisture, salts, and existing coatings can release gases or leave inclusions as the weld cools. On carbon steel, this commonly appears as porosity, unstable arc behavior, or incomplete fusion at the weld toe. On stainless steel and aluminum, surface oxides and embedded foreign particles can also compromise corrosion resistance after welding.
The right preparation standard depends on the welding procedure specification, material grade, joint design, service conditions, and inspection requirements. A structural repair in a noncritical area may allow a different preparation approach than a pressure-containing pipe spool or stainless steel process equipment. The key is not simply making metal look clean. It is removing the contaminants that can affect welding without unnecessarily removing or damaging sound substrate.
Guide to weld surface preparation: start with the joint
Preparation begins with an inspection of the actual weld area, not a general cleaning decision. Confirm the material, identify the existing surface condition, and establish how far from the joint contamination must be removed. The required width should be defined by the welding procedure and the expected heat-affected zone, rather than guessed on site.
Inspect for visible rust, scale, paint, old weld repairs, oil staining, adhesive residue, moisture, and pitting. Pay close attention to corners, lap joints, root openings, and edges created by cutting or grinding. These areas hold contaminants that may not be visible from a normal viewing angle.
If the work involves a repair, identify whether the apparent defect is only surface-deep. Corrosion product and old coating can conceal cracks, undercut, pinholes, or localized wall loss. Cleaning before inspection often provides a clearer picture of what must be repaired and prevents the team from welding over an unverified condition.
Remove oil, grease, and moisture first
Oil and grease should be addressed before dry cleaning methods are used. Grinding over oily steel can smear hydrocarbons across the joint instead of removing them. Heat from the process may also drive contaminants into scratches, pits, and joint gaps.
Use an approved cleaning method compatible with the base material and the project’s safety controls. Wipe the surface with clean, lint-free materials and avoid reusing contaminated rags. Allow the area to dry fully before welding. Moisture deserves the same attention, especially in humid environments, outdoor work, and areas exposed to washdown or condensation.
For high-integrity work, do not assume a surface is clean because it no longer feels slippery. A visual check under suitable lighting, followed by the specified cleanliness verification, is more dependable than a quick touch test.
Choose the removal method based on risk, not habit
Mechanical grinding, abrasive blasting, hand tools, chemical cleaning, and laser cleaning can all have a place in weld preparation. The best choice depends on the contaminant, access, substrate condition, required cleanliness, and site restrictions.
Grinding is useful for bevel preparation, removing sharp edges, and blending weld geometry. However, it can introduce grooves, heat discoloration, and cross-contamination if the same consumables are used across different materials. Stainless steel work requires dedicated tools to avoid embedding carbon steel particles that may later rust.
Abrasive blasting can remove heavy rust and coatings quickly over large areas. Its trade-off is containment, dust, spent media, cleanup time, and the risk of altering delicate surfaces or driving abrasive into tight joints. In operating plants, blasting may also create access and isolation requirements that extend the shutdown window.
Chemical cleaners can be effective for certain oils, oxides, and coatings, but they require strict control of chemical compatibility, worker exposure, rinsing, and waste disposal. Residual chemicals can be as problematic as the contaminants they were intended to remove.
Laser cleaning offers a controlled alternative when selective removal and substrate protection matter. Properly configured laser ablation can remove rust, oxides, paint, oil, and grease while leaving sound base metal intact. The process is especially valuable around localized repairs, machined surfaces, complex geometries, heritage metalwork, and assets where blasting enclosures or chemical waste are impractical.
The visual contrast created during laser cleaning is also operationally useful. Operators and inspectors can clearly see the transition from contaminated material to cleaned substrate, helping define the prepared weld zone before fit-up and welding begin.
Prepare edges, bevels, and root faces carefully
A clean plate face is not enough if the bevel and root face remain contaminated. Weld defects often begin at the edges because these surfaces experience the most direct contact with the molten weld pool.
After removing coatings and corrosion, inspect the joint geometry. Check that bevel angles, root opening, land, alignment, and edge condition match the approved procedure. Remove burrs, slag, loose scale, and any feathered coating that could migrate into the weld zone under heat.
Avoid over-grinding. Excessive material removal can change fit-up, reduce wall thickness, create uneven root gaps, and introduce unnecessary repair work. Where localized corrosion has caused pitting, engineering review may be necessary to determine whether cleaning alone is sufficient or whether material restoration is required.
Prevent contamination from returning
Surface preparation is only effective if the cleaned joint stays clean until welding. This is where otherwise good work is frequently lost. Bare steel can flash-rust quickly in humid conditions, while open work areas are exposed to dust, salt, rain, oils, and handling marks.
Use clean gloves when handling prepared parts. Keep prepared components off dirty floors and away from grinding debris. Do not place tools, hoses, or oily fittings directly on the weld zone. If there is a delay between cleaning and welding, inspect the area again before fit-up and re-clean as required.
For field repairs, sequence the work to minimize exposure time. Clean only the area that can be fitted, inspected, and welded within the available window. This approach reduces repeat preparation and supports tighter control during shutdown activities.
Verify cleanliness before welding
Verification should be proportionate to the weld’s consequence. At a minimum, conduct a close visual inspection under good lighting. The prepared surface should be free of loose rust, visible coatings, oil films, moisture, dust buildup, and foreign material. The joint edges should be sound and consistent with the specified geometry.
Higher-risk applications may require additional checks, such as surface profile measurement, contamination testing, fit-up inspection, or non-destructive examination after cleaning and before welding. The project specification and welding procedure should define these controls.
Documenting the prepared condition is useful when work is performed on critical assets. Photographs of the cleaned area, including the bevel and adjacent weld zone, can support inspection records and clarify the condition found before repair. This is particularly valuable where corrosion, coating failure, or prior repair history may affect later maintenance decisions.
Plan preparation as part of the outage
Treating surface cleaning as a small task before welding often creates the largest delays. A crew may arrive ready to weld only to find heavy scale, unknown coatings, restricted access, or a surface condition that prevents inspection. The result is unplanned blasting, extra permits, waste handling, or extended isolation.
Planning should identify the expected contaminants, available access, required cleanliness level, containment needs, and the cleaning method before the outage begins. It should also account for waste streams, hot-work controls, ventilation, and the time needed for inspection after cleaning.
For localized industrial work, BKR Engineering applies controlled laser cleaning to help teams prepare weld areas without abrasive media, chemical runoff, or unnecessary substrate loss. The practical benefit is not just a cleaner surface. It is a more predictable path from inspection to repair and back to service.
A weld preparation plan earns its value when the joint is ready at the moment the welder is ready. Define the required condition, select the least disruptive method that achieves it, and protect that clean surface until the arc is struck.